Views 458
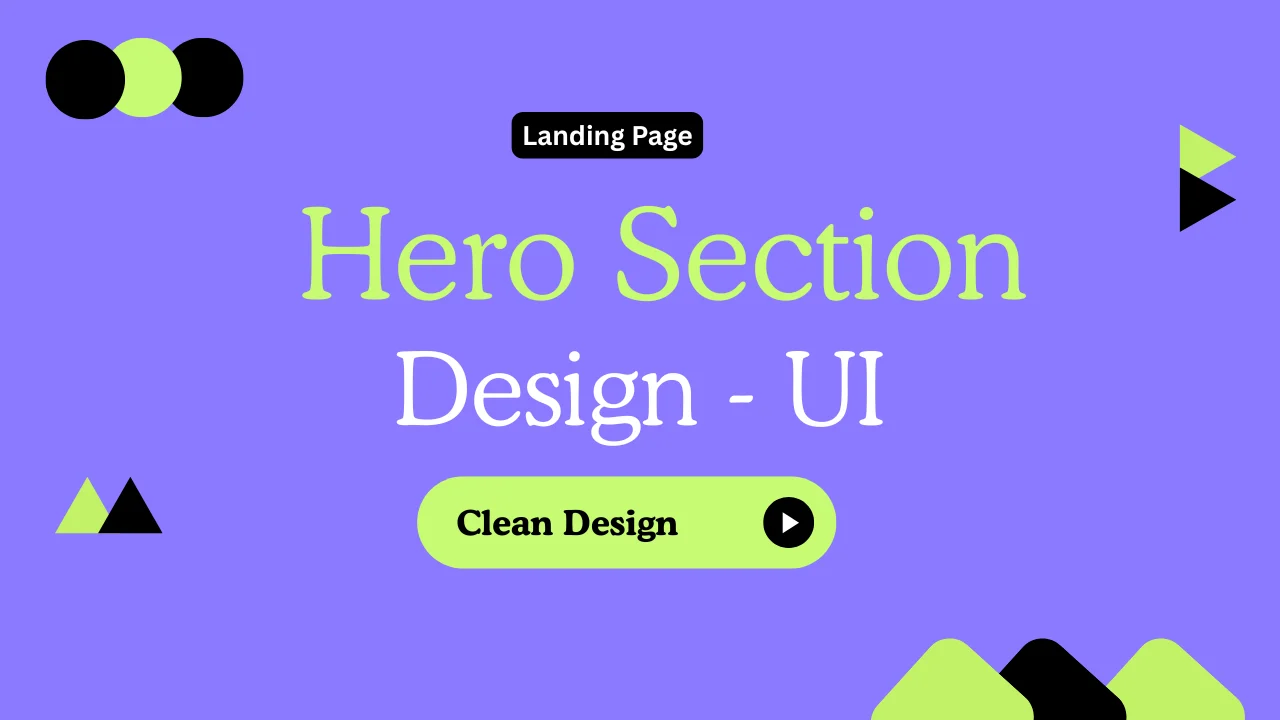
Hero Design Template – Design Agency
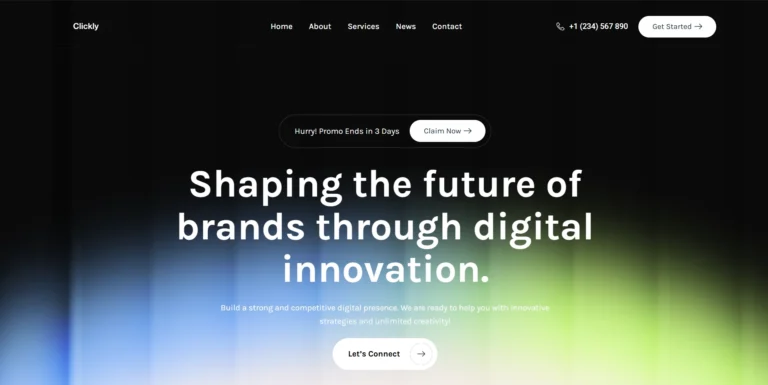
Hero Design Template – Design Agency – A hero section is the first thing visitors see on your website—it sets the tone for your brand and influences user engagement. With a premium hero design template, you can create a visually stunning and high-converting hero section without spending hours designing from scratch!
Whether you’re a design agency, freelancer, or creative business, this ready-to-use Elementor template will save you time and deliver a professional look in just a few clicks.
Why Use a Pre-Designed Hero Section Template?
✅ Saves Time – No need to build from scratch.
✅ Drag & Drop Editing – Customize effortlessly with Elementor Pro.
✅ Modern & Responsive – Optimized for all devices.
✅ High-Quality UI/UX – Aesthetic appeal that enhances branding.
✅ Boosts Engagement & Conversions – Well-structured layouts guide visitors effectively.
Read and Get my recent UI from Brix agency templates
How to Create a Stunning Hero Section with Elementor
Step 1: Open Elementor & Create a New Page
- In your WordPress Dashboard, go to Pages > Add New.
- Click Edit with Elementor to open the page builder.
Step 2: Import the Hero Section Template
- If you have a custom hero template file, upload it via Templates > Import Template.
- If using Elementor’s built-in templates, click Templates > Blocks > Hero Sections.
- Choose a modern agency-style design and click Insert.
Step 3: Customize the Hero Section
- Update the headline with your agency’s tagline.
- Modify the subtext to highlight key services or your value proposition.
- Customize colors, fonts, and buttons to match your brand identity.
- Add a compelling CTA (e.g., “Get Started”, “View Portfolio”, or “Contact Us”).
Step 4: Add Visual Enhancements
- Use GSAP animations for smooth transitions.
- Add hover effects for an interactive feel.
- Apply parallax backgrounds to create depth.
- Use Lottie animations to make it more dynamic.
Step 5: Publish & Optimize for Performance
- Click Publish to make your hero section live.
- Ensure it loads fast by optimizing images and animations.
- Set it as your homepage header for a strong first impression.
Final Thoughts
This premium hero section template gives your design agency website a polished, professional, and high-converting look without the hassle. Just import, edit, and launch—it’s that simple!
💡 Why waste time designing from scratch when you can have a pixel-perfect hero section in minutes? Try it now and elevate your website’s visual appeal! 🚀🔥
Need help customizing? Let me know! 😊