Views 872
How to create a gsap magnetic button in WordPress elementor
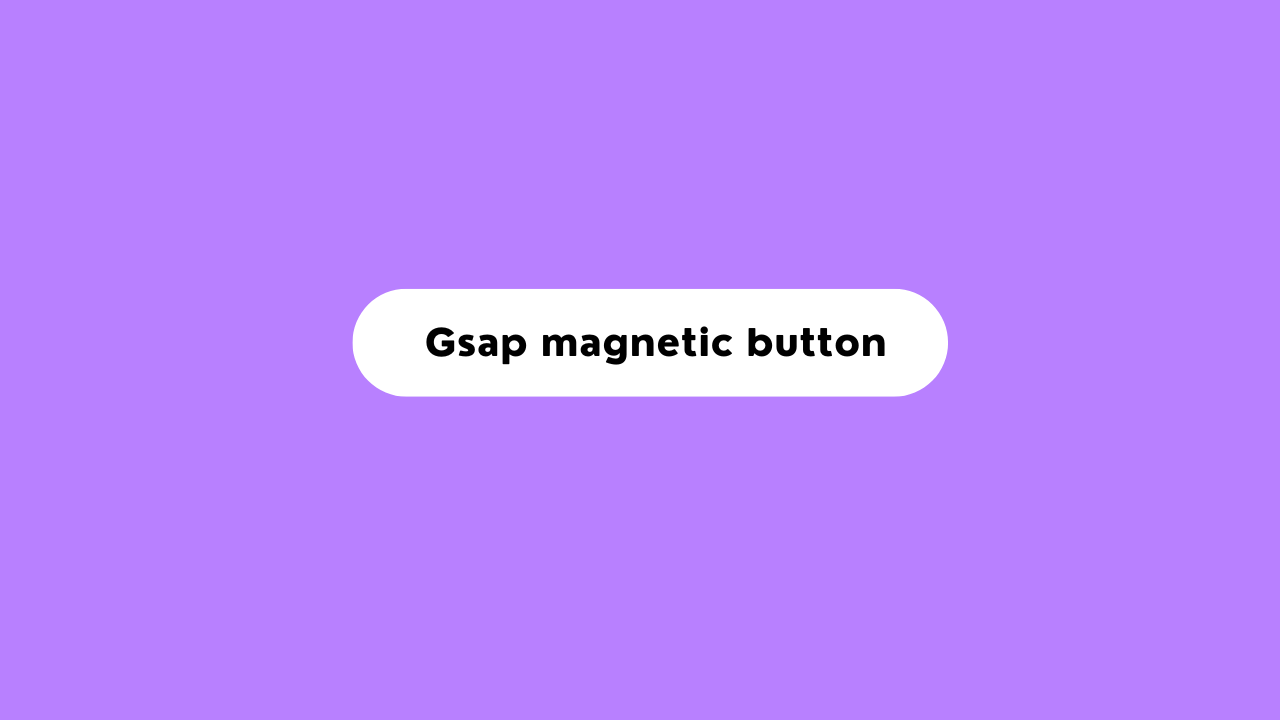
How to Create a GSAP Magnetic Button in WordPress Elementor
Creating a magnetic effect for buttons can enhance user engagement by offering an interactive, eye-catching experience. This effect attracts the user’s cursor when they hover over the button, making it ideal for call-to-action buttons like “Book” or “Buy.” Such dynamic interactions can significantly improve the user experience and encourage clicks.
How to create a gsap magnetic button in WordPress elementor
Steps to Create a Magnetic Button
1. HTML and JavaScript Setup
Whether you’re using a plain HTML site or WordPress (with Elementor or similar builders), you can implement a magnetic button.
Here’s an example of the HTML structure:
<button class="magnetic-button"> hover me </button>The class .magnetic-button will be used as a selector for styling and animations.
<styles></styles>
2. CSS Styling
Customize the button’s appearance and define the hover effects. Use ::hover, ::after, and ::before pseudo-elements for the visual transformations.
.magnetic-button{
    border: none;
    outline: none;
    cursor: pointer;
    overflow: hidden;
/* add background color  some more */
}

.magnetic-button::after {
  content: "";
  position: absolute;
  top: 50%;
  left: 50%;
  transform: translate(-50%, -50%);
  width: 100%;
  height: 100%;
  background: black;
  border: none;
    outline: none;
  border-radius:99px ;
  clip-path: circle(0% at 50% 50%);
  transition: 0.3s all;
}

.magnetic-button:hover::after {
  clip-path: circle(100% at 50% 50%);
}

.magnetic-button:hover span {
  color: white;
  z-index: 2;
}
3. JavaScript for GSAP Effects
Add a GSAP script to create the magnetic hover animation effect.
Include the GSAP library by adding this in your HTML:
<script src="https://cdnjs.cloudflare.com/ajax/libs/gsap/3.11.0/gsap.min.js"></script>

<script>
document.addEventListener('DOMContentLoaded', (event) => {
    const button = document.querySelector('.magnetic-button');

    if (button) {
        button.addEventListener('mousemove', (e) => {
            const rect = button.getBoundingClientRect();
            const x = e.clientX - rect.left - rect.width / 2;
            const y = e.clientY - rect.top - rect.height / 2;

            gsap.to(button, {
                duration: 0.3,
                x: x * 0.3,
                y: y * 0.3,
                ease: "power2.out"
            });
        });

        button.addEventListener('mouseleave', (e) => {
            gsap.to(button, {
                duration: 0.3,
                x: 0,
                y: 0,
                ease: "power2.out"
            });
        });
    }
});
</script>
After adding the above HTML, CSS, and JavaScript, your magnetic button will dynamically respond to mouse hover, creating an engaging, interactive experience for users.
In elementor:
- Open any page and add an elementor widget.
- Go to advanced tab
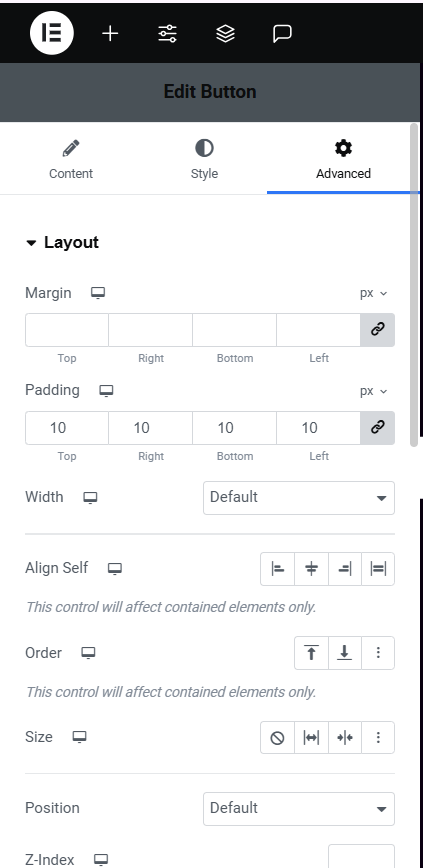
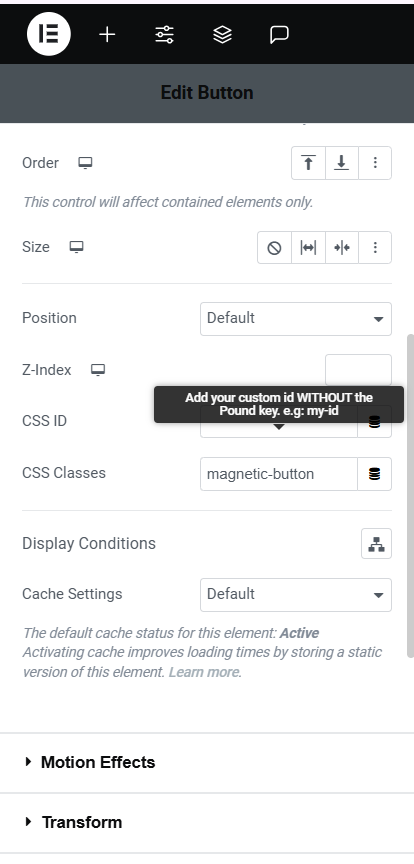
in css classes add magnetic-button
5. take an html widget
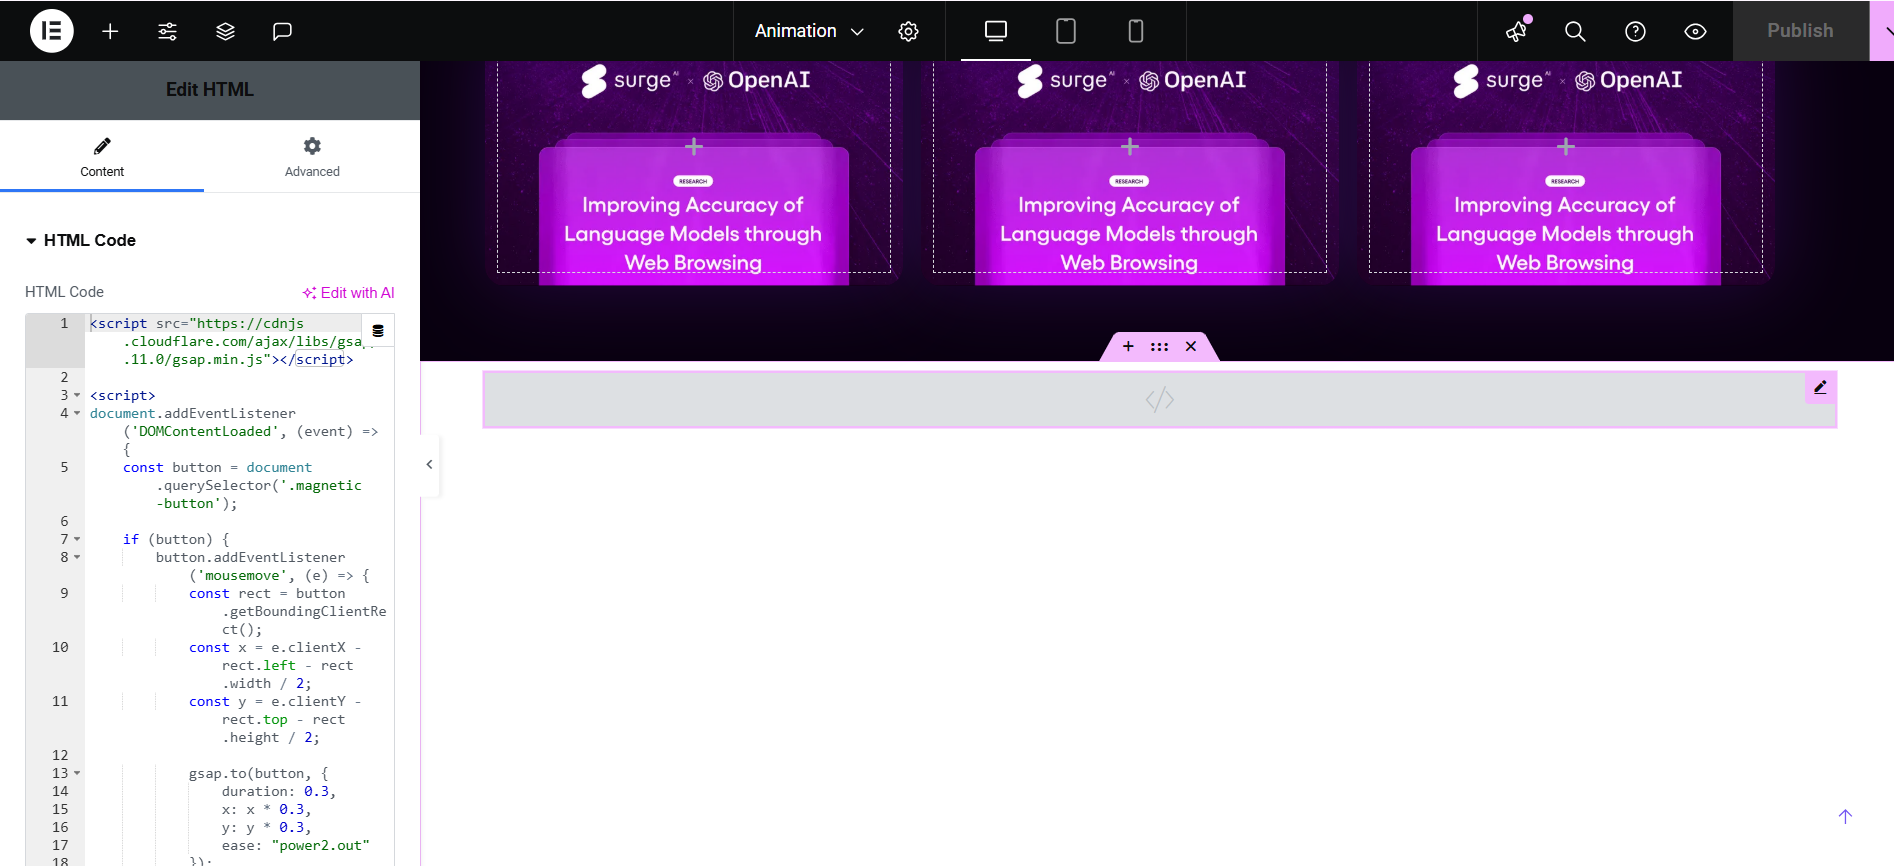
Add your css and js there
Congrats you created me.
About Me
I’m Ganesh, a passionate web designer with over two years of experience. I love creating modern and user-friendly components for web builders like Framer, Elementor, and WordPress. If you find this free header helpful, I’d appreciate it if you could leave a tip or share it with others who might benefit!
Looking for custom design work? Feel free to reach out—I’m available for freelance projects to help you create beautiful, functional websites.
Mycomponents: To download the templates, visit My Gumroad Page.
Show Your Support
If you like this free modern header component, consider leaving a tip to support my work and help me create more free resources for the web design community.
- How to Convert Image Upload png,jpg to Avif without Plugin
- Build a Modern Documentation Site in Minutes with This React & Vite Dashboard Template
- How I Built a Modern Hero Section with Next.js, Tailwind, and Framer Motion
- Build a Modern AI Chatbot with React, Next.js, and Gemini API
- New Hero Section Design Startups – With Elementor Template for Free