Views 496
How to create animated carousel with html css js

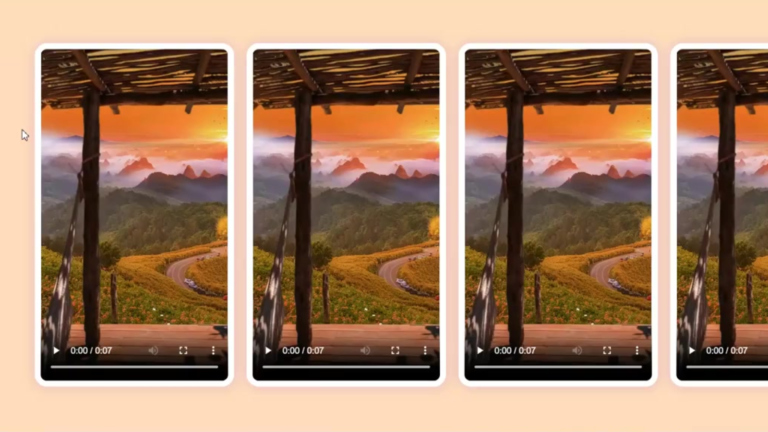
How to create animated carousel with html css js – A carousel is a great way to showcase images, products, or content in an engaging and interactive way. In this article, we will create a simple and effective animated carousel using HTML, CSS, and JavaScript.

If your curious to design with GSAP read here about gsap magnetic button in elementor
How to Create an Animated Carousel with HTML, CSS, and JavaScript
Steps to Create an How to create animated carousel with html css js
1. Set Up the HTML Structure
We start by creating a container for the carousel with slides inside it.
<div class="carousel">
        <div class="images-wrapper">
          <img src="https://webcomponents.blog/wp-content/uploads/2025/02/animated-carousel-in-html-css-js.png" class="image img-1 show" alt="" />
          <img src="https://webcomponents.blog/wp-content/uploads/2025/01/Form-with-toast-messages.png" class="image img-2" alt="" />
          <img src="https://webcomponents.blog/wp-content/uploads/2025/01/Animated-Testimonials.png" class="image img-3" alt="" />
        </div>

        <div class="text-slider">
          <div class="text-wrap">
            <div class="text-group">
              <h2>Create your own courses</h2>
              <h2>Customize as you like</h2>
              <h2>Invite students to your class</h2>
            </div>
          </div>

          <div class="bullets">
            <span class="active" data-value="1"></span>
            <span data-value="2"></span>
            <span data-value="3"></span>
          </div>
        </div>
      </div>
2. Style the Carousel with CSS
We apply styles to make the carousel visually appealing and responsive.
.carousel {

    height: 100%;
    width: 55%;
    background-color: #b4ffa5;
    border-radius: 2rem;
    display: grid;
    align-items: center;
    grid-template-rows: auto 1fr;
    padding-bottom: 2rem;
    overflow: hidden;
    transition: 0.8s ease-in-out;
  }

  .images-wrapper {
    display: grid;
    grid-template-columns: 1fr;
    grid-template-rows: 1fr;
  }

  .image {
    width: 100%;
    grid-column: 1/2;
    grid-row: 1/2;
    opacity: 0;
    transition: opacity 0.3s, transform 0.5s;
  }

  .img-1 {
    transform: translate(0, -50px);
  }

  .img-2 {
    transform: scale(0.4, 0.5);
  }

  .img-3 {
    transform: scale(0.3) rotate(-20deg);
  }

  .image.show {
    opacity: 1;
    transform: none;
  }

  .text-slider {
    display: flex;
    align-items: center;
    justify-content: center;
    flex-direction: column;
  }

  .text-wrap {
    max-height: 2.2rem;
    overflow: hidden;
    margin-bottom: 2.5rem;
  }

  .text-group {
    display: flex;
    flex-direction: column;
    text-align: center;
    transform: translateY(0);
    transition: 0.5s;
  }

  .text-group h2 {
    line-height: 2.2rem;
    font-weight: 600;
    font-size: 1.6rem;
  }

  .bullets {
    display: flex;
    align-items: center;
    justify-content: center;
  }

  .bullets span {
    display: block;
    width: 0.5rem;
    height: 0.5rem;
    background-color: #aaa;
    margin: 0 0.25rem;
    border-radius: 50%;
    cursor: pointer;
    transition: 0.3s;
  }

  .bullets span.active {
    width: 1.1rem;
    background-color: #151111;
    border-radius: 1rem;
  }

  @media (max-width: 850px) {
    .box {
      height: auto;
      max-width: 550px;
      overflow: hidden;
    }

    .inner-box {
      position: static;
      transform: none;
      width: revert;
      height: revert;
      padding: 2rem;
    }

    .forms-wrap {
      position: revert;
      width: 100%;
      height: auto;
    }

    form {
      max-width: revert;
      padding: 1.5rem 2.5rem 2rem;
      transition: transform 0.8s ease-in-out, opacity 0.45s linear;
    }

    .heading {
      margin: 2rem 0;
    }

    form.sign-up-form {
      transform: translateX(100%);
    }

    main.sign-up-mode form.sign-in-form {
      transform: translateX(-100%);
    }

    main.sign-up-mode form.sign-up-form {
      transform: translateX(0%);
    }

    .carousel {
      position: revert;
      height: auto;
      width: 100%;
      padding: 3rem 2rem;
      display: flex;
    }

    .images-wrapper {
      display: none;
    }

    .text-slider {
      width: 100%;
    }
  }

  @media (max-width: 530px) {
    main {
      padding: 1rem;
    }

    .box {
      border-radius: 2rem;
    }

    .inner-box {
      padding: 1rem;
    }

    .carousel {
      padding: 1.5rem 1rem;
      border-radius: 1.6rem;
    }

    .text-wrap {
      margin-bottom: 1rem;
    }

    .text-group h2 {
      font-size: 1.2rem;
    }

    form {
      padding: 1rem 2rem 1.5rem;
    }
  } /* some css no need for these carousel
3. Add Functionality with JavaScript
We use JavaScript to add sliding animations and navigation controls.
const bullets = document.querySelectorAll(".bullets span");
    const images = document.querySelectorAll(".image");
    function moveSlider() {
        let index = this.dataset.value;

        let currentImage = document.querySelector(`.img-${index}`);
        images.forEach((img) => img.classList.remove("show"));
        currentImage.classList.add("show");

        const textSlider = document.querySelector(".text-group");
        textSlider.style.transform = `translateY(${-(index - 1) * 2.2}rem)`;

        bullets.forEach((bull) => bull.classList.remove("active"));
        this.classList.add("active");
      }

      bullets.forEach((bullet) => {
        bullet.addEventListener("click", moveSlider);
      });
Conclusion
By following these simple steps, you can create a smooth and effective animated carousel using HTML, CSS, and JavaScript. You can further enhance it by adding dots, autoplay controls, or even touch-swipe support.
Happy coding! 🚀
About Me
I’m Ganesh, a passionate web designer with over two years of experience. I love creating modern and user-friendly components for web builders like Framer, Elementor, and WordPress. If you find this free header helpful, I’d appreciate it if you could leave a tip or share it with others who might benefit!
Looking for custom design work? Feel free to reach out—I’m available for freelance projects to help you create beautiful, functional websites.
Mycomponents: To download the templates, visit My Gumroad Page.
You can also read my recent posts
- How to Convert Image Upload png,jpg to Avif without Plugin
- Build a Modern Documentation Site in Minutes with This React & Vite Dashboard Template
- How I Built a Modern Hero Section with Next.js, Tailwind, and Framer Motion
- Build a Modern AI Chatbot with React, Next.js, and Gemini API
- New Hero Section Design Startups – With Elementor Template for Free
Show Your Support
If you like this free modern header component, consider leaving a tip to support my work and help me create more free resources for the web design community.